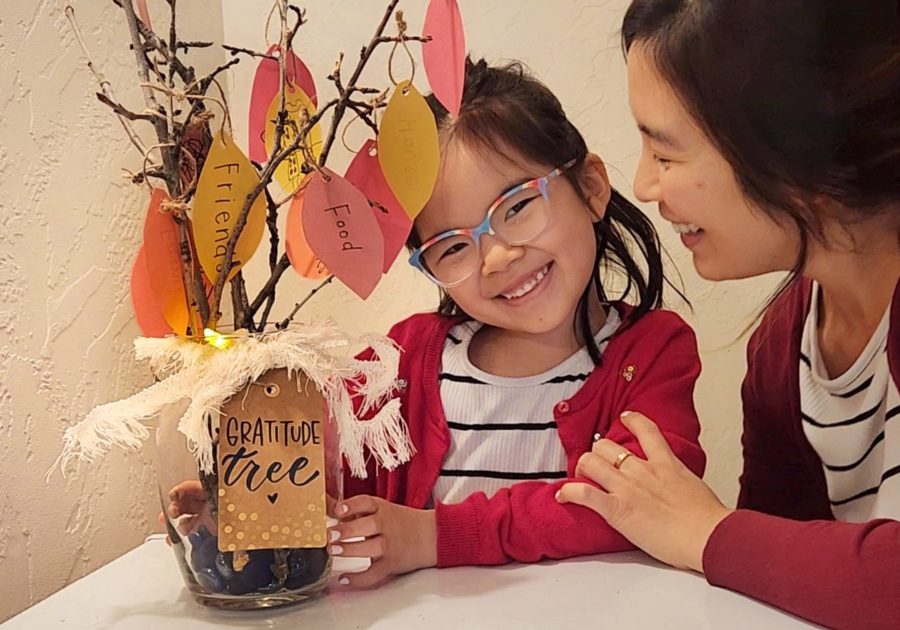
Looking for a standout Thanksgiving table centerpiece? Creating a family gratitude tree is not only a wonderful way to foster gratitude and involve everyone, including the kids, in the holiday spirit, but it's also super easy to do, and it looks beautiful too!
Here's how you can create a simple and kid-friendly gratitude tree made with supplies you probably already have around your house.
@macaronikidnational ♬ love song (hesitations) (sped up) - Lofuu & Shiloh Dynasty & dprk
Gratitude Tree
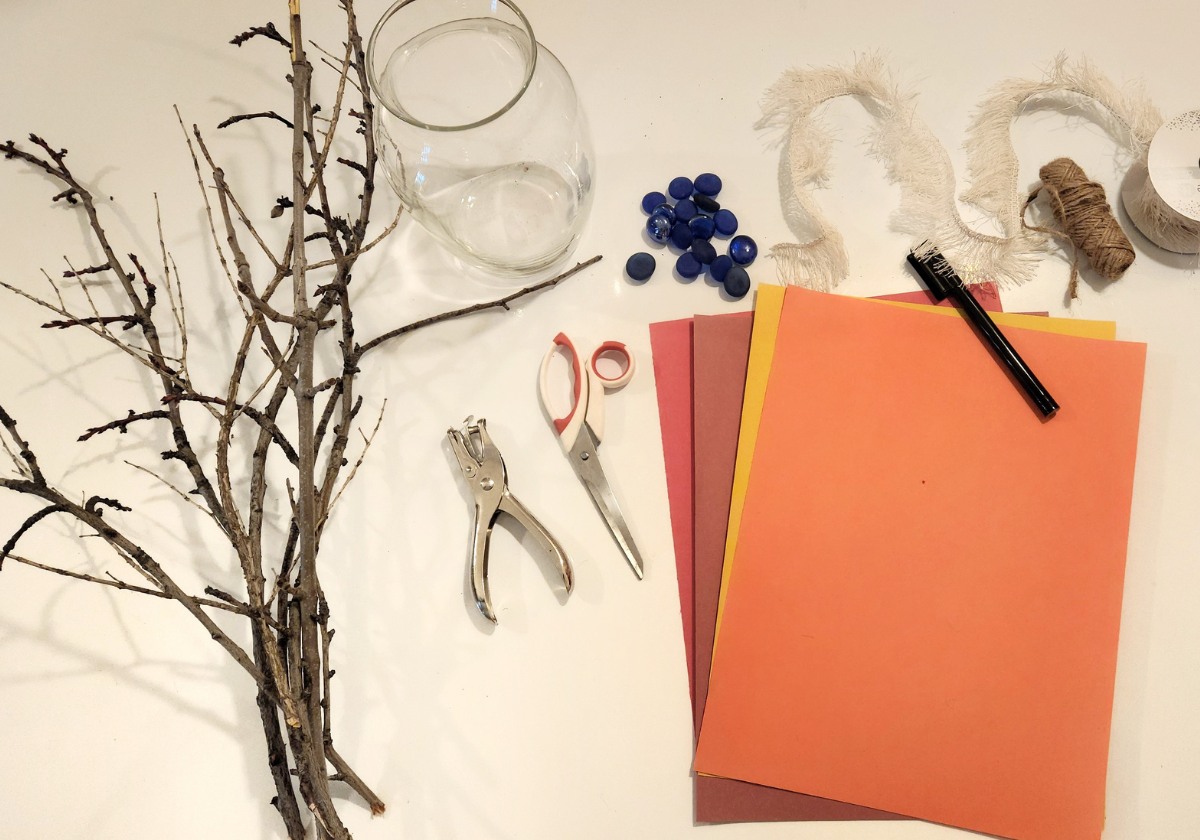
Supplies you'll need:
- One or more sturdy small branches with several smaller twigs or branches (for hanging gratitude leaves.)
- A vase or container
- Sand, rocks or decorative stone (Something to keep your branch in place in the container)
- Construction paper in fall-themed colors like red, orange, yellow, and brown
- Scissors
- Markers or pens
- String or ribbon
- Paper hole punch
- Optional: Paint
 |
Directions:
- Prepare branches by trimming to the desired size and shape, making sure to keep extra branches on to hang your gratitude leaves. Optional: Let your kids decorate or paint the branch to make it more festive!
- Place the branch in the vase or container, using sand, rocks, or decorative stones to hold it in place.
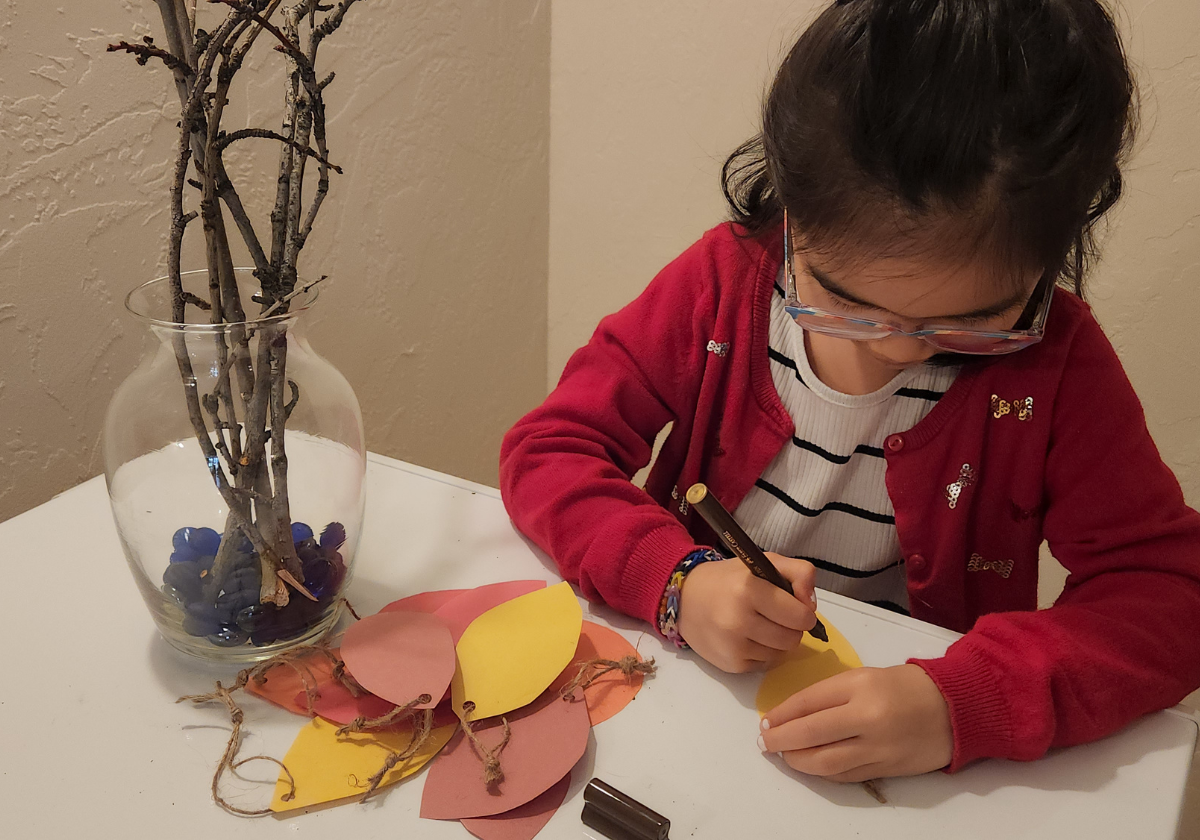
- Create your gratitude leaves. Start by cutting out leaf shapes from the construction paper -- a good project for kids! Use a paper hole punch for ribbon or string. Tie a small loop of ribbon or string to the leaf so that it can be hung on the tree once complete. Place the leaves in a bowl on the table next to your "tree."
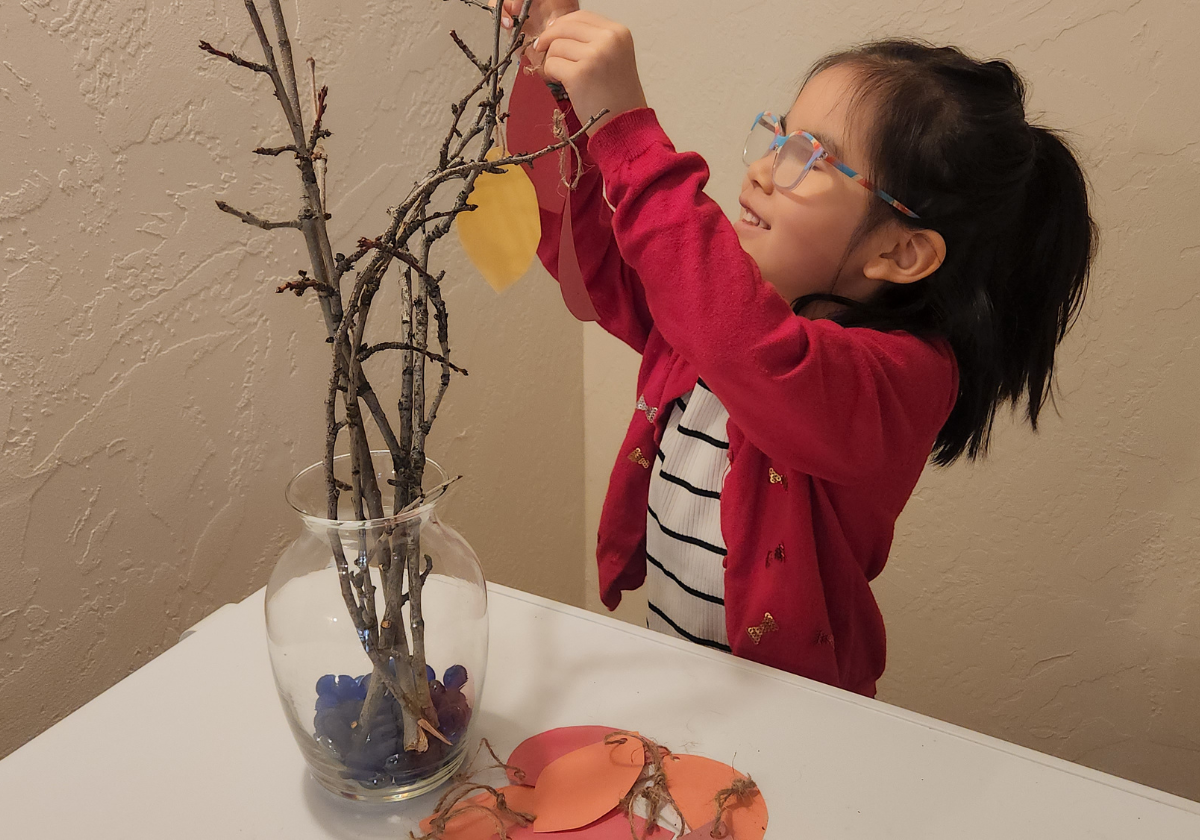
- Encourage kids and other family members to write down things they are thankful for on the leaves and then hang their gratitude leaves on the "tree."
 |  |
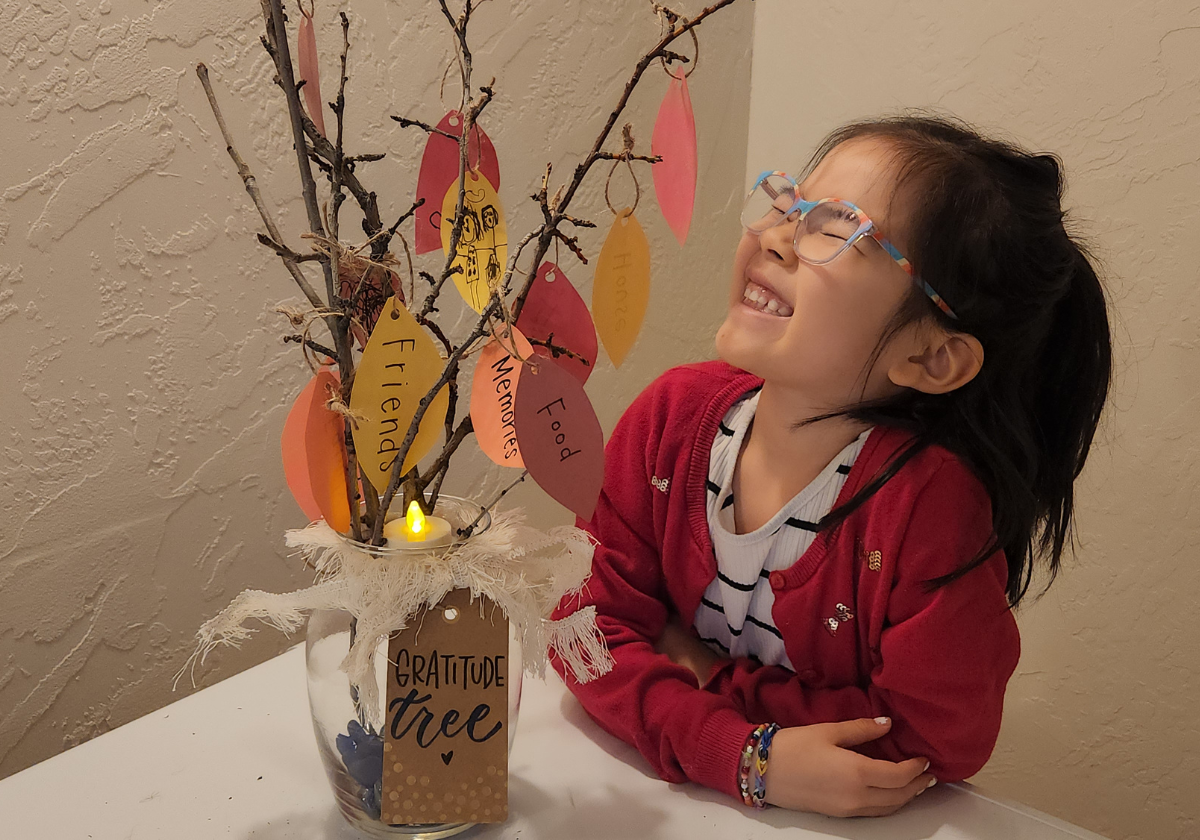 |
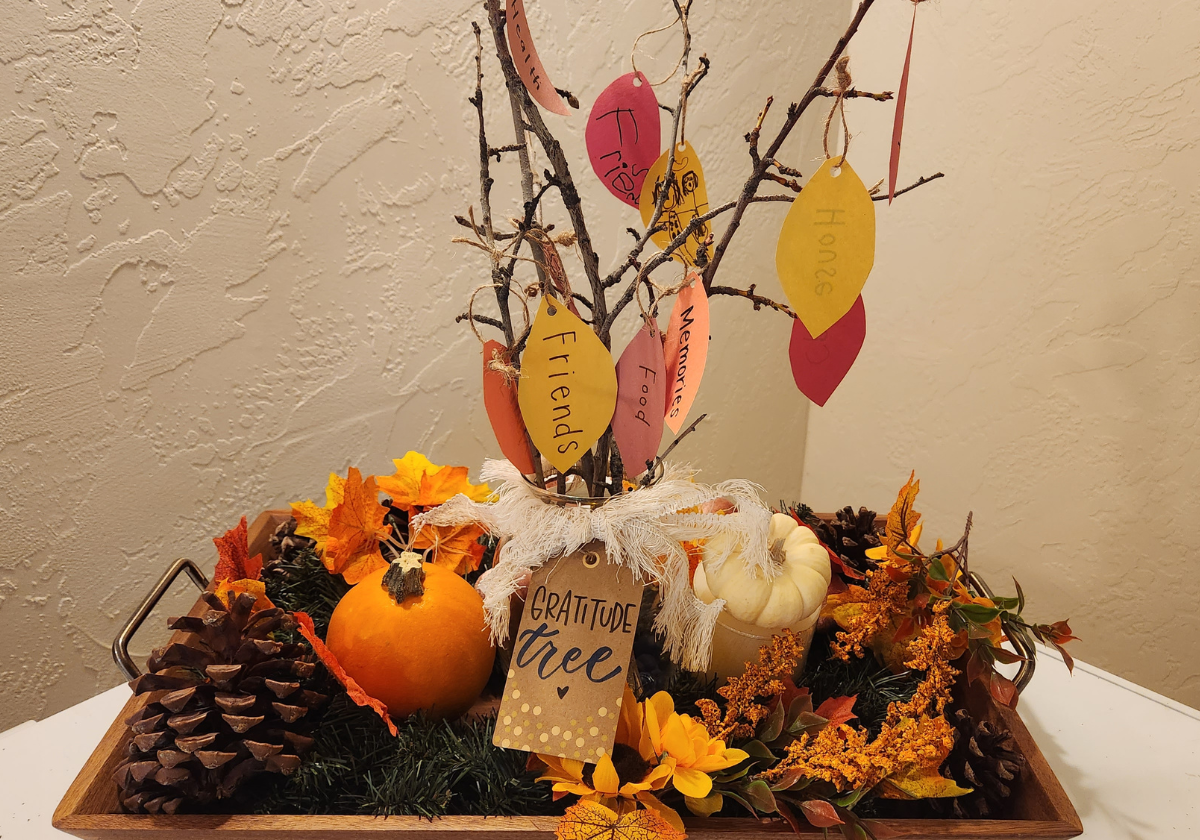
You can place your family gratitude tree anywhere of course -- we love the idea of using it as a centerpiece for Thanksgiving table to create opportunities during the meal to help spur meaningful conversations about gratitude.
 |

